ForexGM EA First Time Activation
Step by step guide to get the EA up and running on a chart for the first time.
The following pictures demonstrate the first time activation of the ForexGM EA in a few steps.
Attach the EA to a chart
Procedure
-
Drag & drop the ForexGM EA from the Navigator window () to a chart window and select the Common tab:
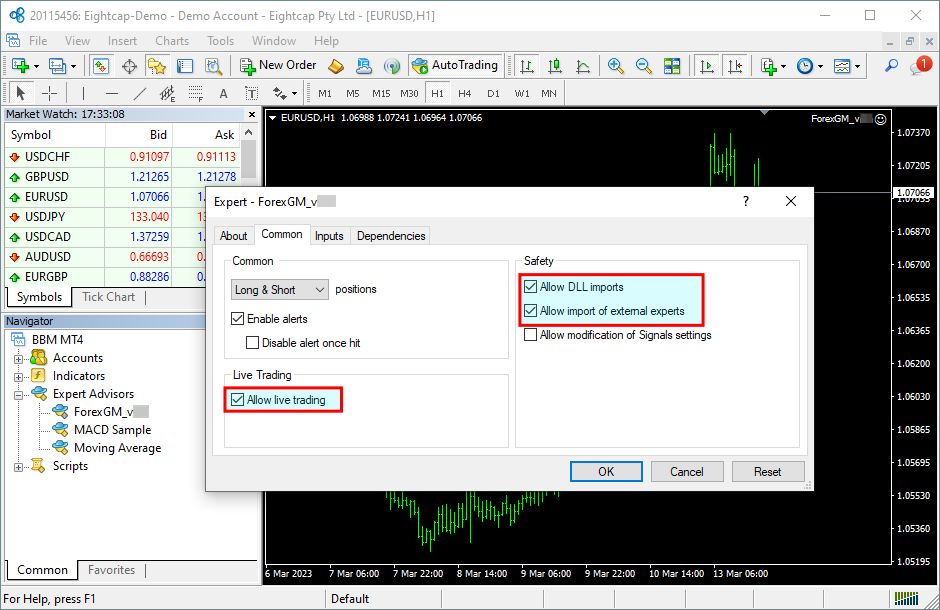
Note:Ensure that the- Allow live trading,
- Allow DLL import and
- Allow import of external experts
-
Select the Inputs tab:
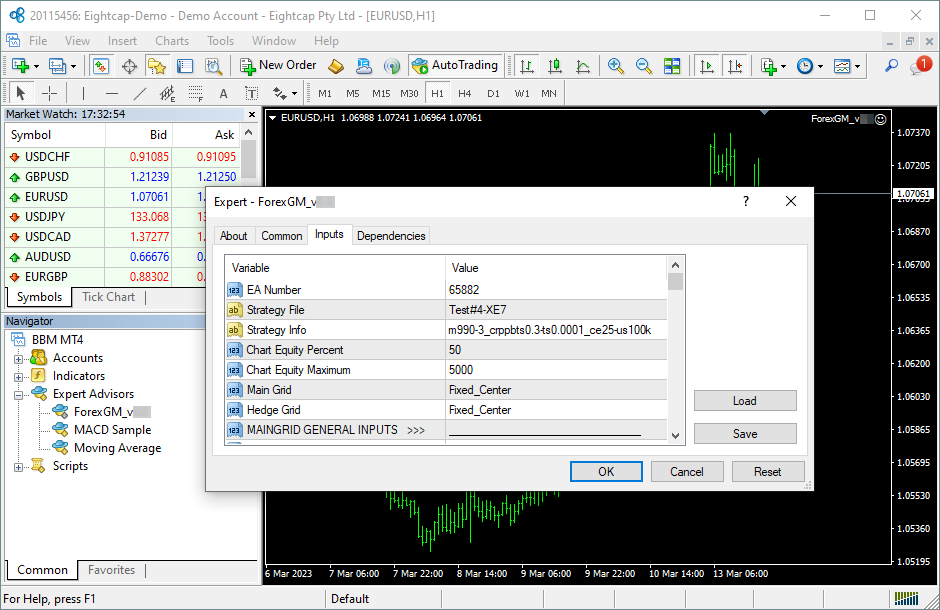
This lists the parameters of the EA where the operational aspect of the ForexGM EA can be set up. For more details see the ForexGM EA Configuration Guide – for now click on the OK button and let the EA start up with default settings.
Note:At the very first time the EA may prompt for the Access ID to verify that the usage of product is licensed.
The Access ID is pre-configured and is the same as the login name to the web support site. Feel free to change your Access ID at the Web Support Centre and ensure not to share it with anyone else. Enter the Access ID and click on the Save button:
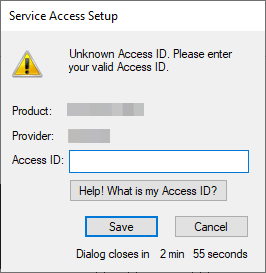
Tip: If you do not remember your Access ID then click on the Help! What is my Access ID? to see it on your Web Support Centre user profile.
The ForexGM EA is up and running
After successful authentication the ForexGM EA starts up.
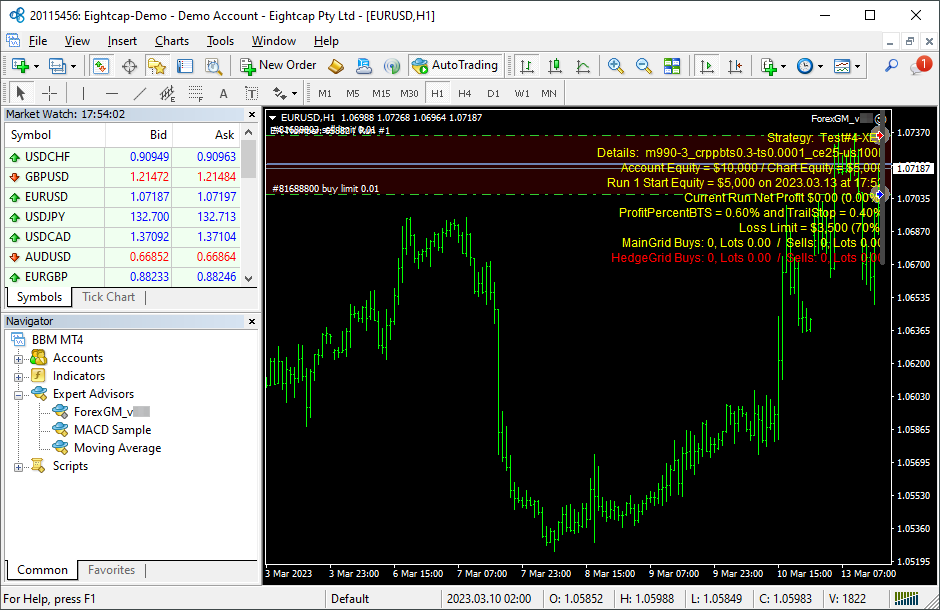
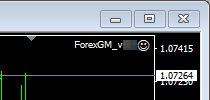
The ForexGM EA has been attached to the chart. The smiley face in the top-right corner shows that the initialisation of the ForexGM EA was successful and the EA is now looking for trading opportunities.
See the smiley face in the corner:
In case of a problem getting the ea up and running please refer to the Knowledgebase section.